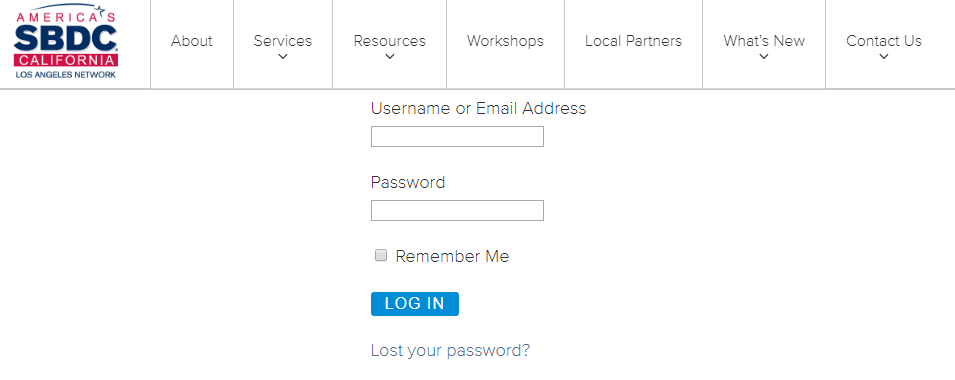
1. Go to your specific center’s Event Manager page.
Each center has its own URL: https://YOURDOMAIN.org/workshops/admin/add
For example: Here is COC’s link: https://cocsbdc.org/workshops/admin/add
After you access the link, you’ll be prompted to log in with the username and password for your center (provided by Lead Center Marketing).
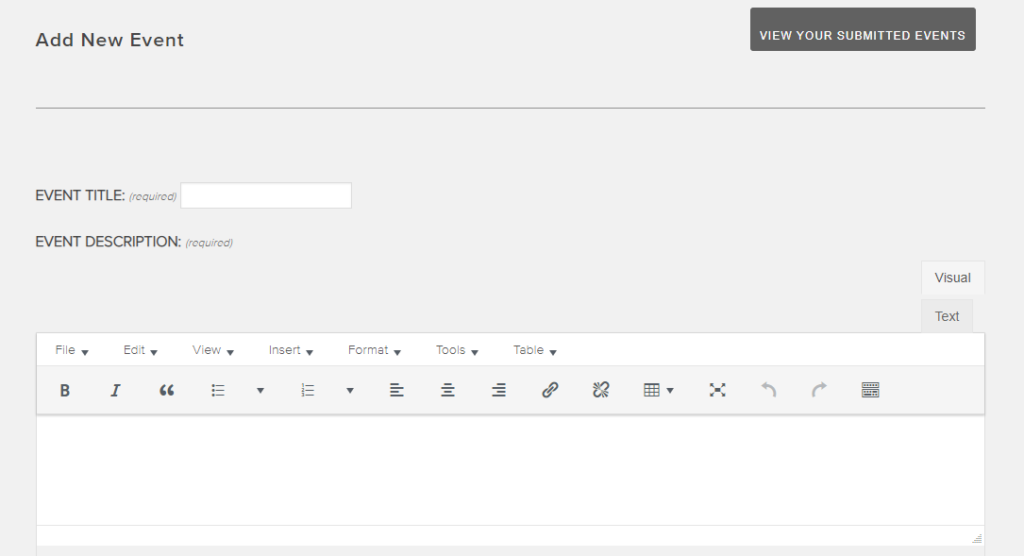
2. Enter the event title and description.
Note that the words and formatting you enter here are exactly what will appear on your published calendar. Please be sure to proofread!
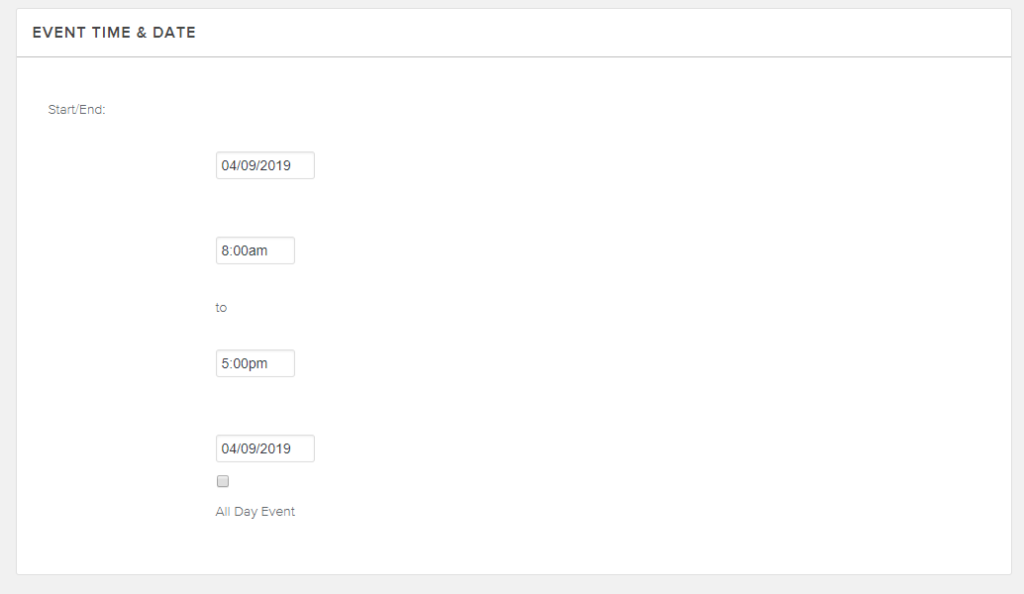
3. Add the event time and date.
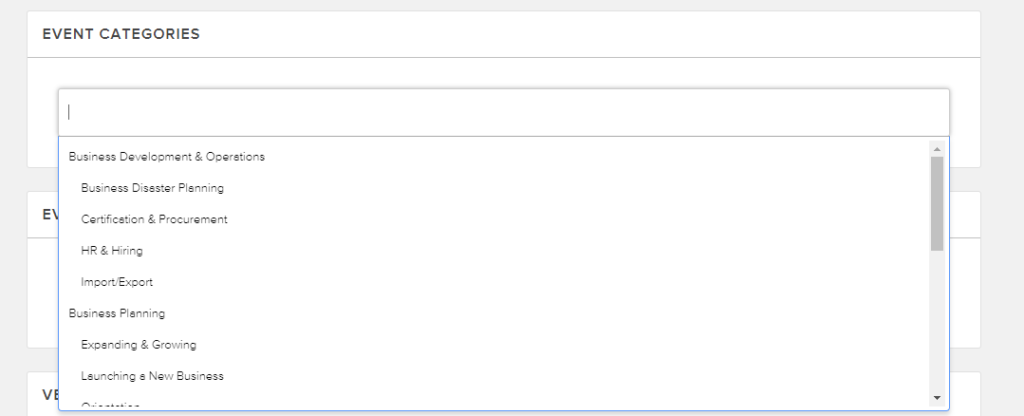
4. Select the event category and tags.
Click on the drop down menu for the ‘Event Categories’ and ‘Event Tags’ section. Click on a choice that is most relevant to the workshop. You can choose more than one. It is important to use appropriate Categories as this affects how well your clients will be able to search your workshop calendar for a specific topic.
Note for tags: You can enter webinar, or En Espanol where applicable to help clients search and find these types of events easier.
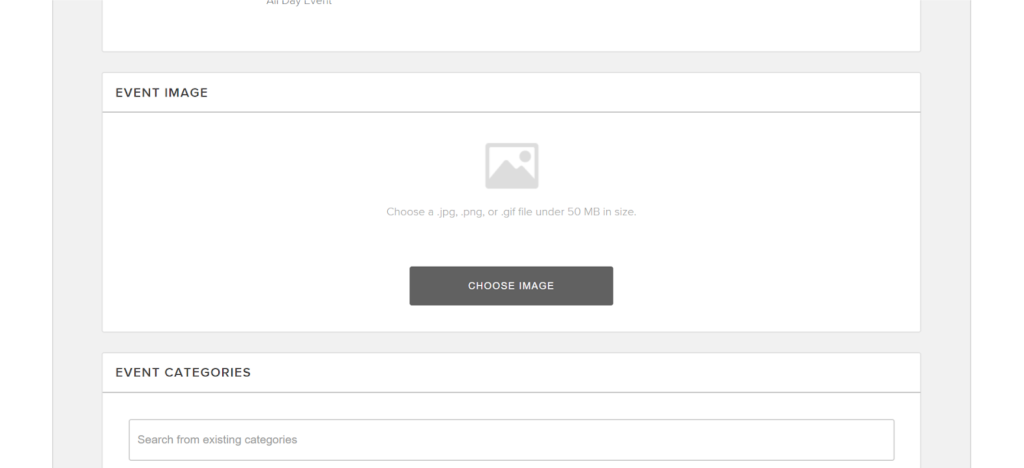
OPTIONAL: Upload an image specific to your workshop/event. If you don’t have an image, you can skip this step – images can be added by the Lead Center during the publishing process.
5. Select the workshop venue
Select the venue of the workshop from the drop down menu. Only venues specific to your center will show.
If you have a new venue to add, please contact marketing@smallbizla.wpenginepowered.com.

6: Double check the organizer option.
The organizer option will default to displaying your center’s name, but please double-check that it is correct.

7: Add the registration link.
Add the event’s registration link to the event registration section. This would normally be your “eCenter” link, unless you are collecting registrations outside of Neoserra, such as EventBrite.

Note: If you are collecting registrations through Neoserra, please make sure you use the public-facing “eCenter” link. If you are not sure how to find this, please review the Appendix at the end of this document.

8: Enter the registration fee for the event.
Add the cost of your event. If it is free, put the number 0. The calendar will display this as “Free” and potential clients will be able to search your calendar for free events.

9: Review and submit the event.
Almost there! Double-check the information before submitting, especially dates and cost. Click the “Submit Event” button when you have finished reviewing the details.
What happens next: The Lead Center will review your entry, insert the registration button (using the event registration link you provided), and upload an image. The event will take approximately 2 business days hours to process and post. If you need your event posted sooner, please contact marketing@smallbizla.wpenginepowered.com.
Please review the published calendar entry to make sure all the information is correct.

Appendix: Finding the Event Registration Link
A1: Login to Neoserra and select your event.
Once you’ve selected your event, in the Summary box on the right, click on the small blue text that says [Public eCenter Link]

A2: Copy the public event URL.
After clicking the link, a new page will open. Copy the URL of that new page at the top of the browser window; that is your public-facing registration link.
Note: The public-facing registration link always begins with lasbdcnet.ecenter.com/events/, and the number at the end is unique to your event – it will be a new number for each event you create.
